
 Language
MarkerScan Manual
Introduction
This is the MarkerScan manual. MarkerScan makes it easy to measure in 3D
by taking pictures of markers placed in your environment. The software recognizes the markers
and accurately calculates their 3D positions. By using this information
an accurate 3D model can be generated. This manual explains all the steps
for measuring with MarkerScan.
Rules of thumb
- The maximal distance between neighboring markers should not be larger than 1 meter.
- The markers are best visible from a distance of 0.5 meters to 2.5 meters from the camera.
- Make sure the markers are photographed from different positions, distances and angles.
- All photos must contain at least 5 markers.
- Every marker (including the start marker) should be visible in at least 5 photos.
- Make sure there is sufficient marker overlap between the photos.
Step 1. Marker sets
In order to start using MarkerScan, you need a marker set. Marker sets contain the markers that are required for doing measurements. You can find the available marker sets here. There are two ways to acquire a marker set.
1. Download the free marker set.
This marker set is free and provides a quick start for using MarkerScan.
Go to the Marker Sets Page and download the marker set (PDF). Print the PDF file, preferably on heavy paper. Cut the markers around the edges.
2. Order a professional marker set.
This high-quality marker set is printed accurately on laminated paper and is suitable for accurate and professional measurements.
Order this marker set on the Marker Sets Page and fill in the form. The marker set will be shipped to your address.
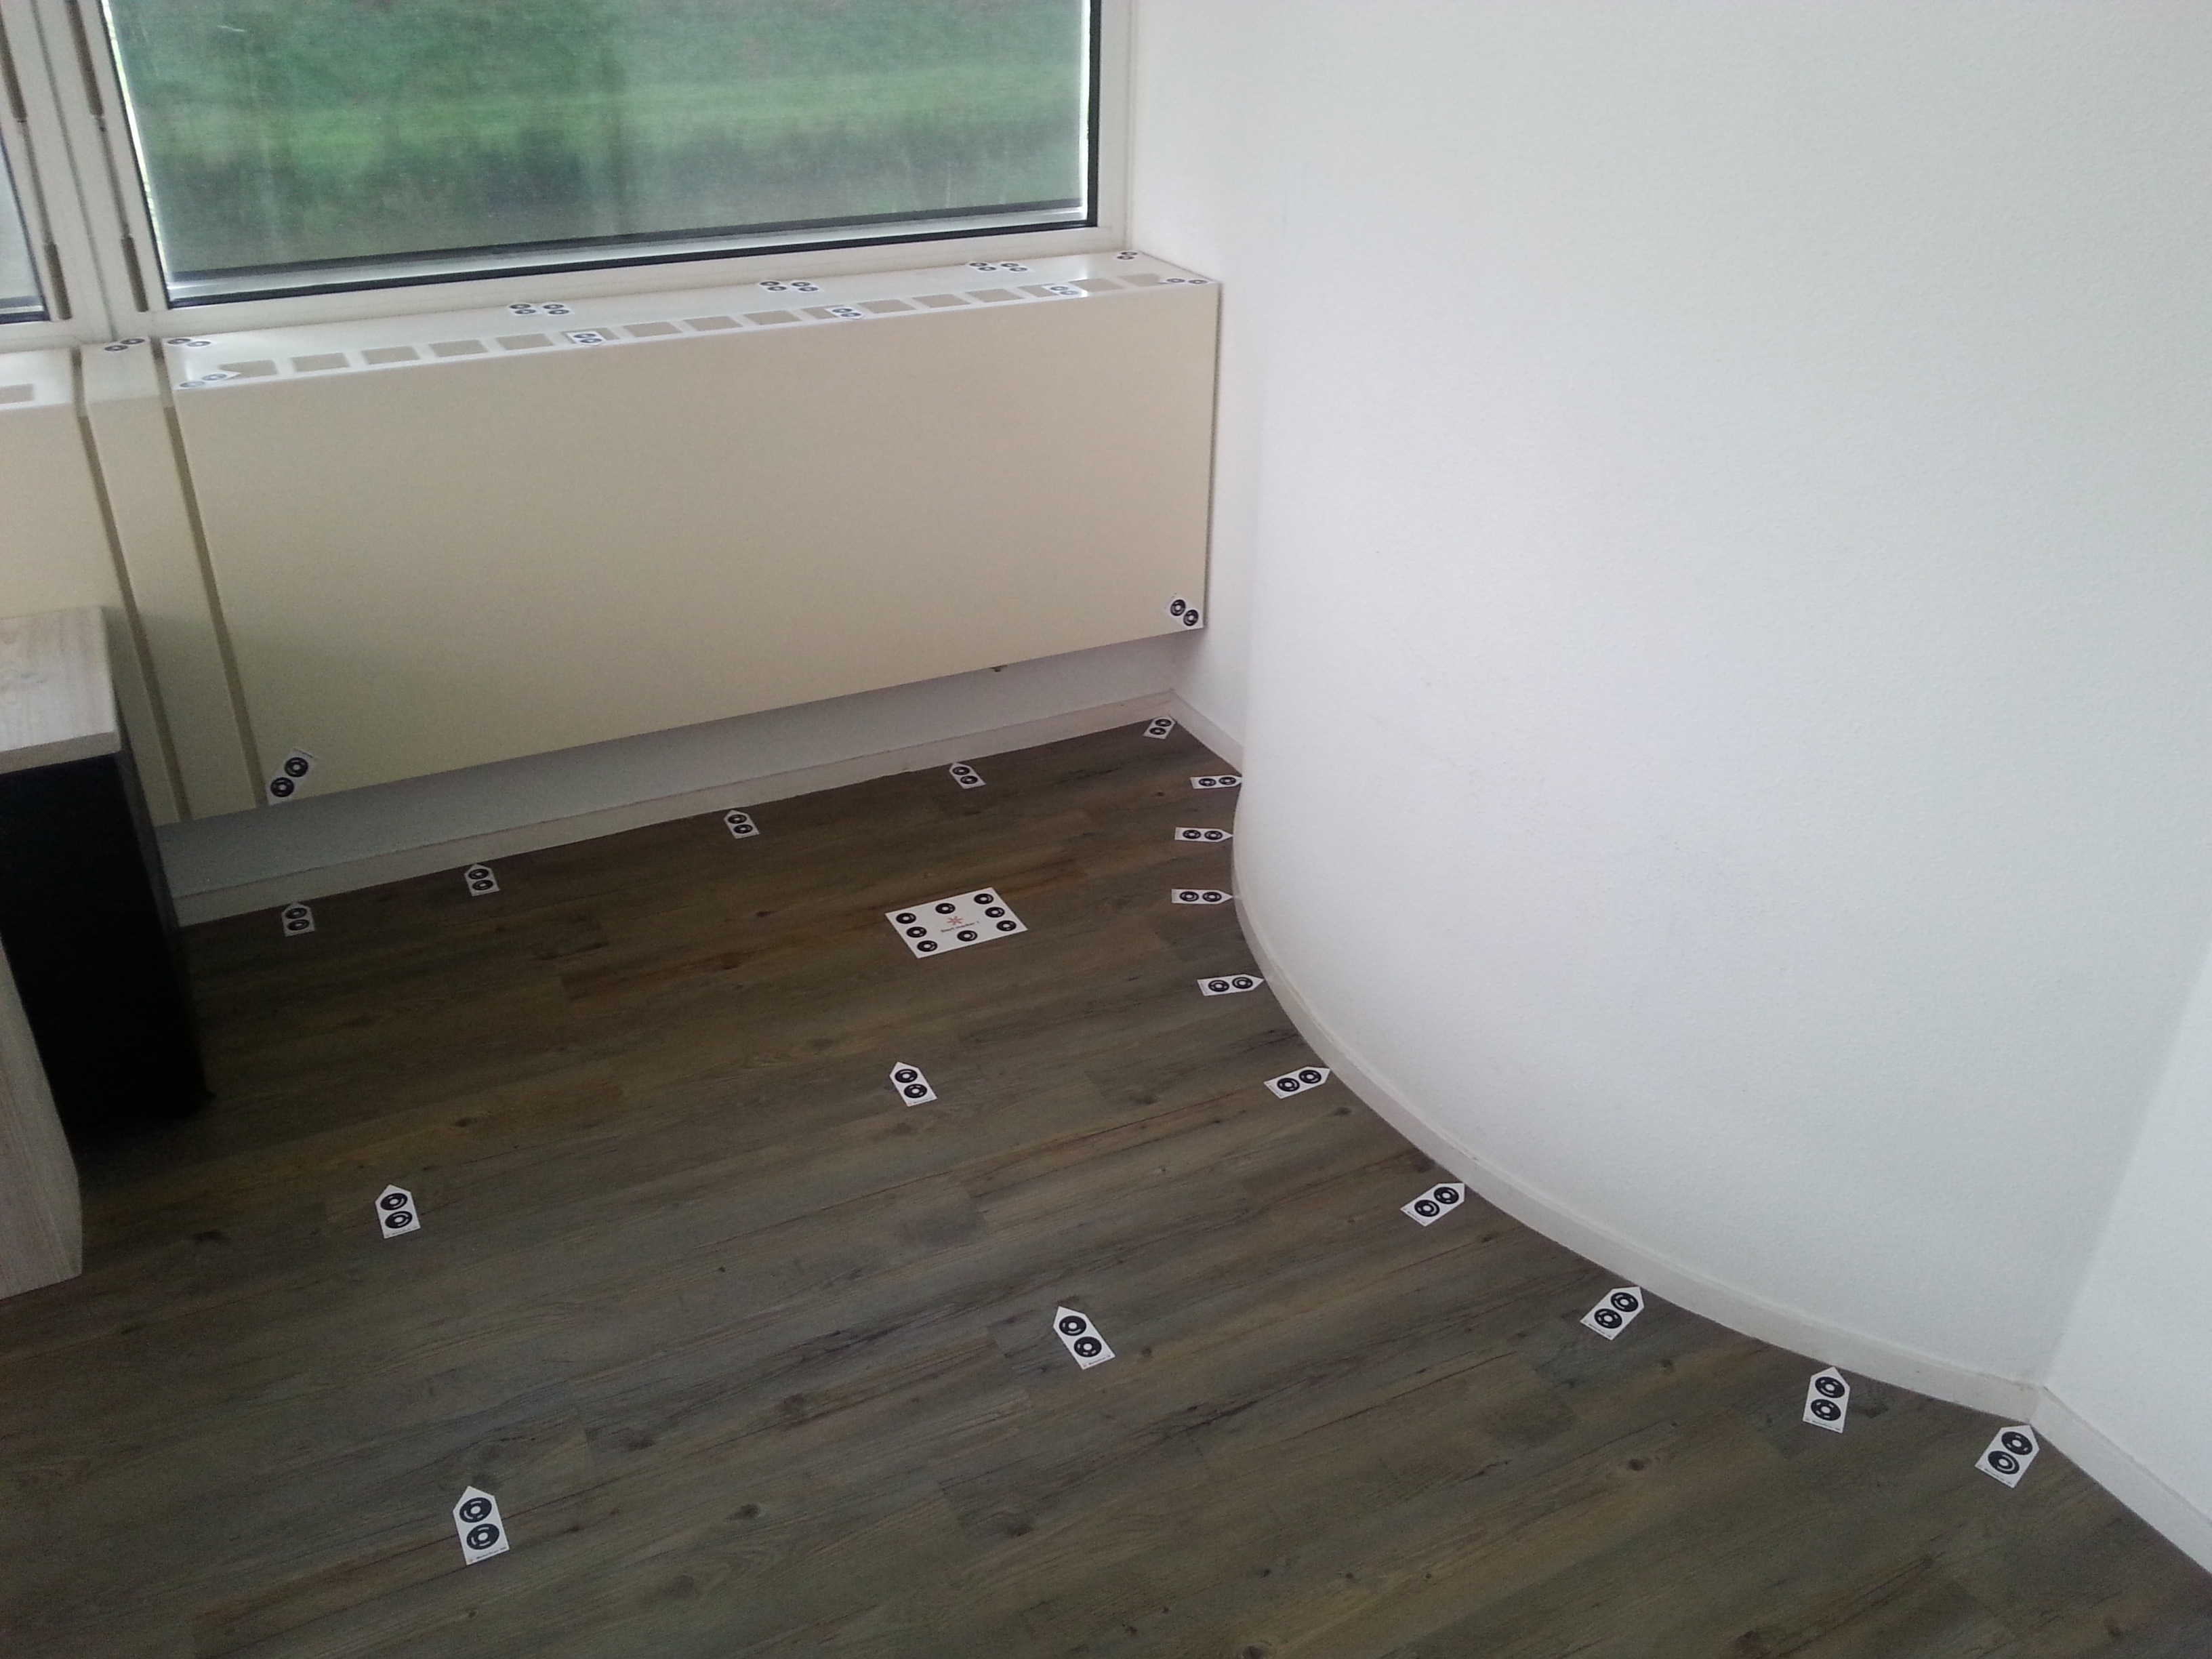
Step 2. Position the markers
Position the start marker on a flat surface. The start marker must always be present in any measurement.
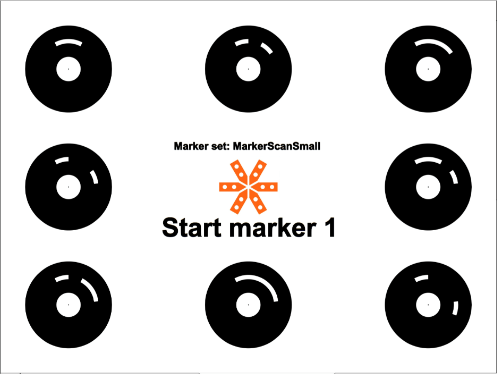
Then place the arrow-shaped markers towards the points you would like to measure. Place extra markers to increase the marker density. Make sure that the distance between all markers and their closest neighbor is not larger than 1 meter.
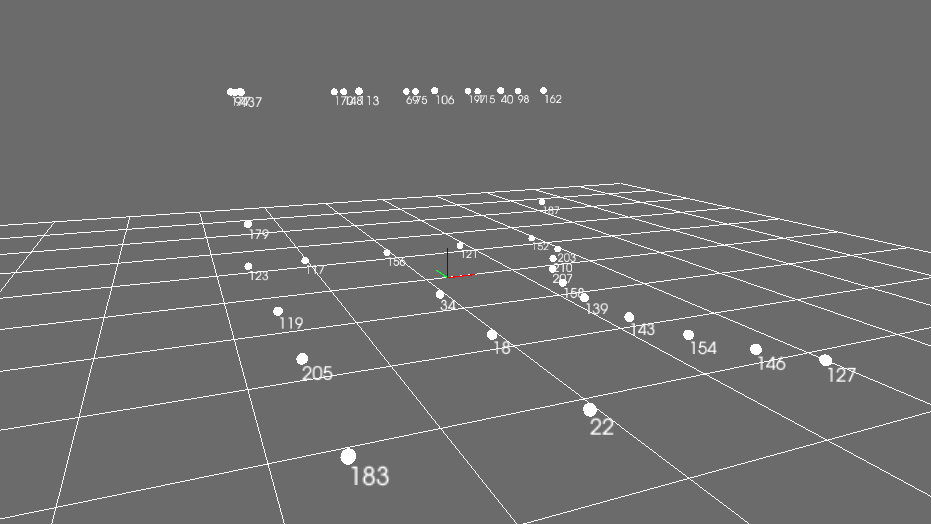
The final 3D model of the room in this example looks like this.
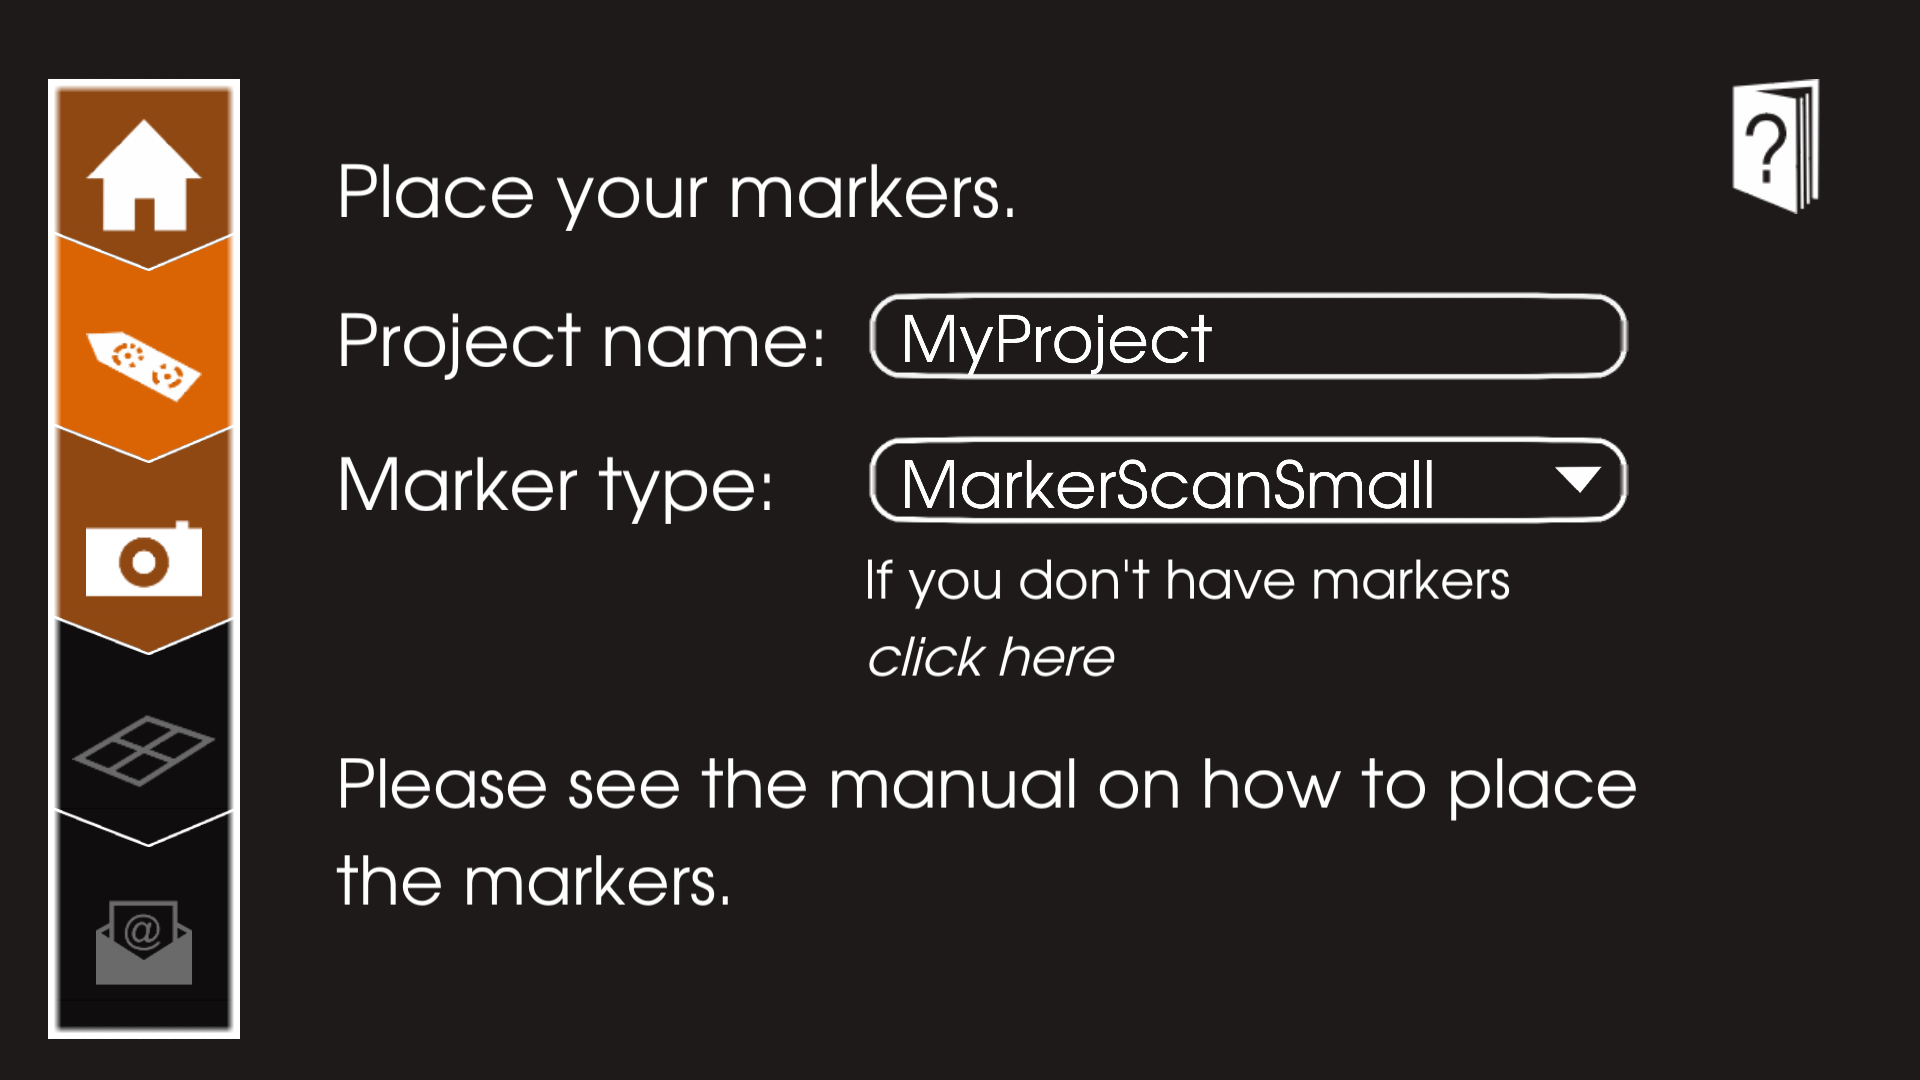
Step 3. Create the project
Download the MarkerScan app here. Open the app and create a new project. Give your project a name and select the marker set. The marker set is indicated on the start marker.
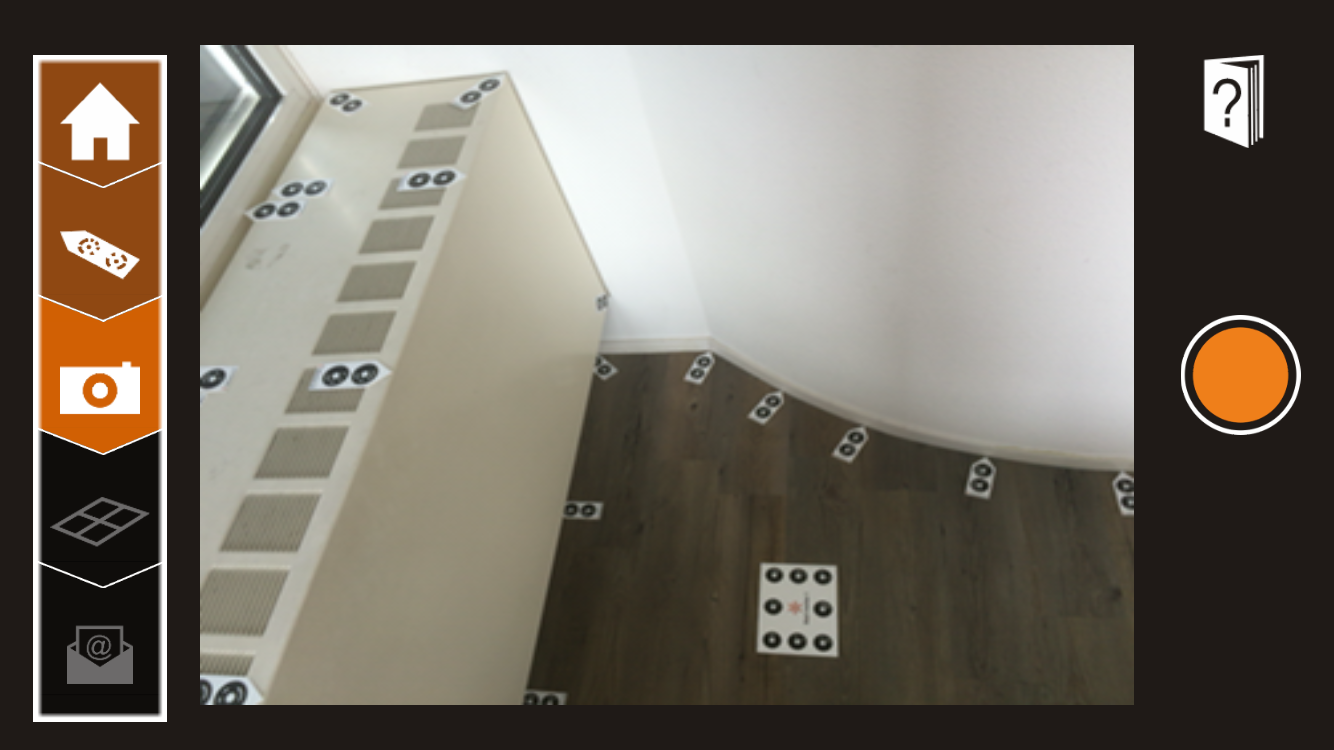
Step 4. Take the photos
Tap on the camera icon and start taking pictures of your environment. The markers are best visible from a distance of 0.5 meters to 2.5 meters from the camera.
Make sure the markers are photographed from different positions, distances and angles. All photos must contain multiple markers, equally distributed across the image. Every marker should be visible in at least 5 photos.
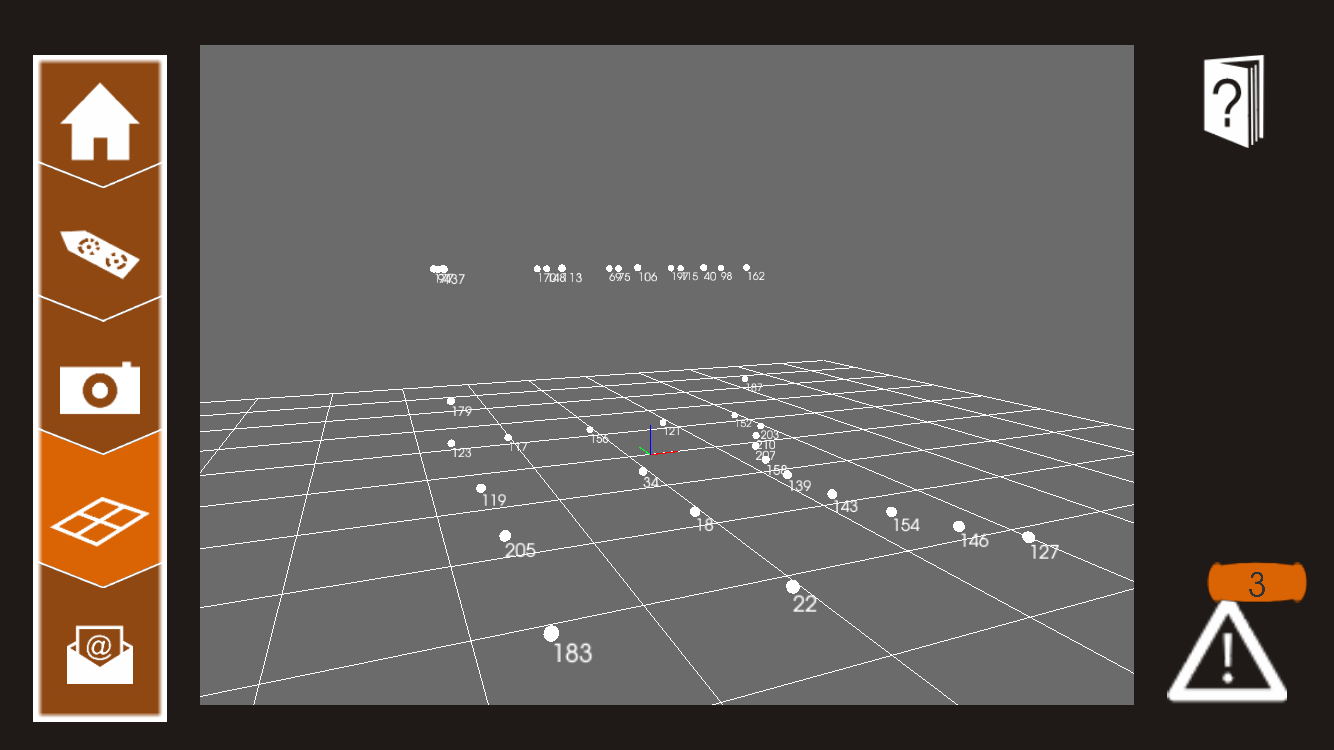
Step 5. Review the 3D model
Tap on the 3D model icon to see the 3D model. The model contains one 3D point for every 3D position designated by the corresponding marker. Check if the model is complete. If there are any remarks or warnings (like missing points), you can find them via the Warning button in the bottom-right of the screen. If a marker is not visible in sufficient photos, you can go back to the Camera View to take extra photos of this marker.
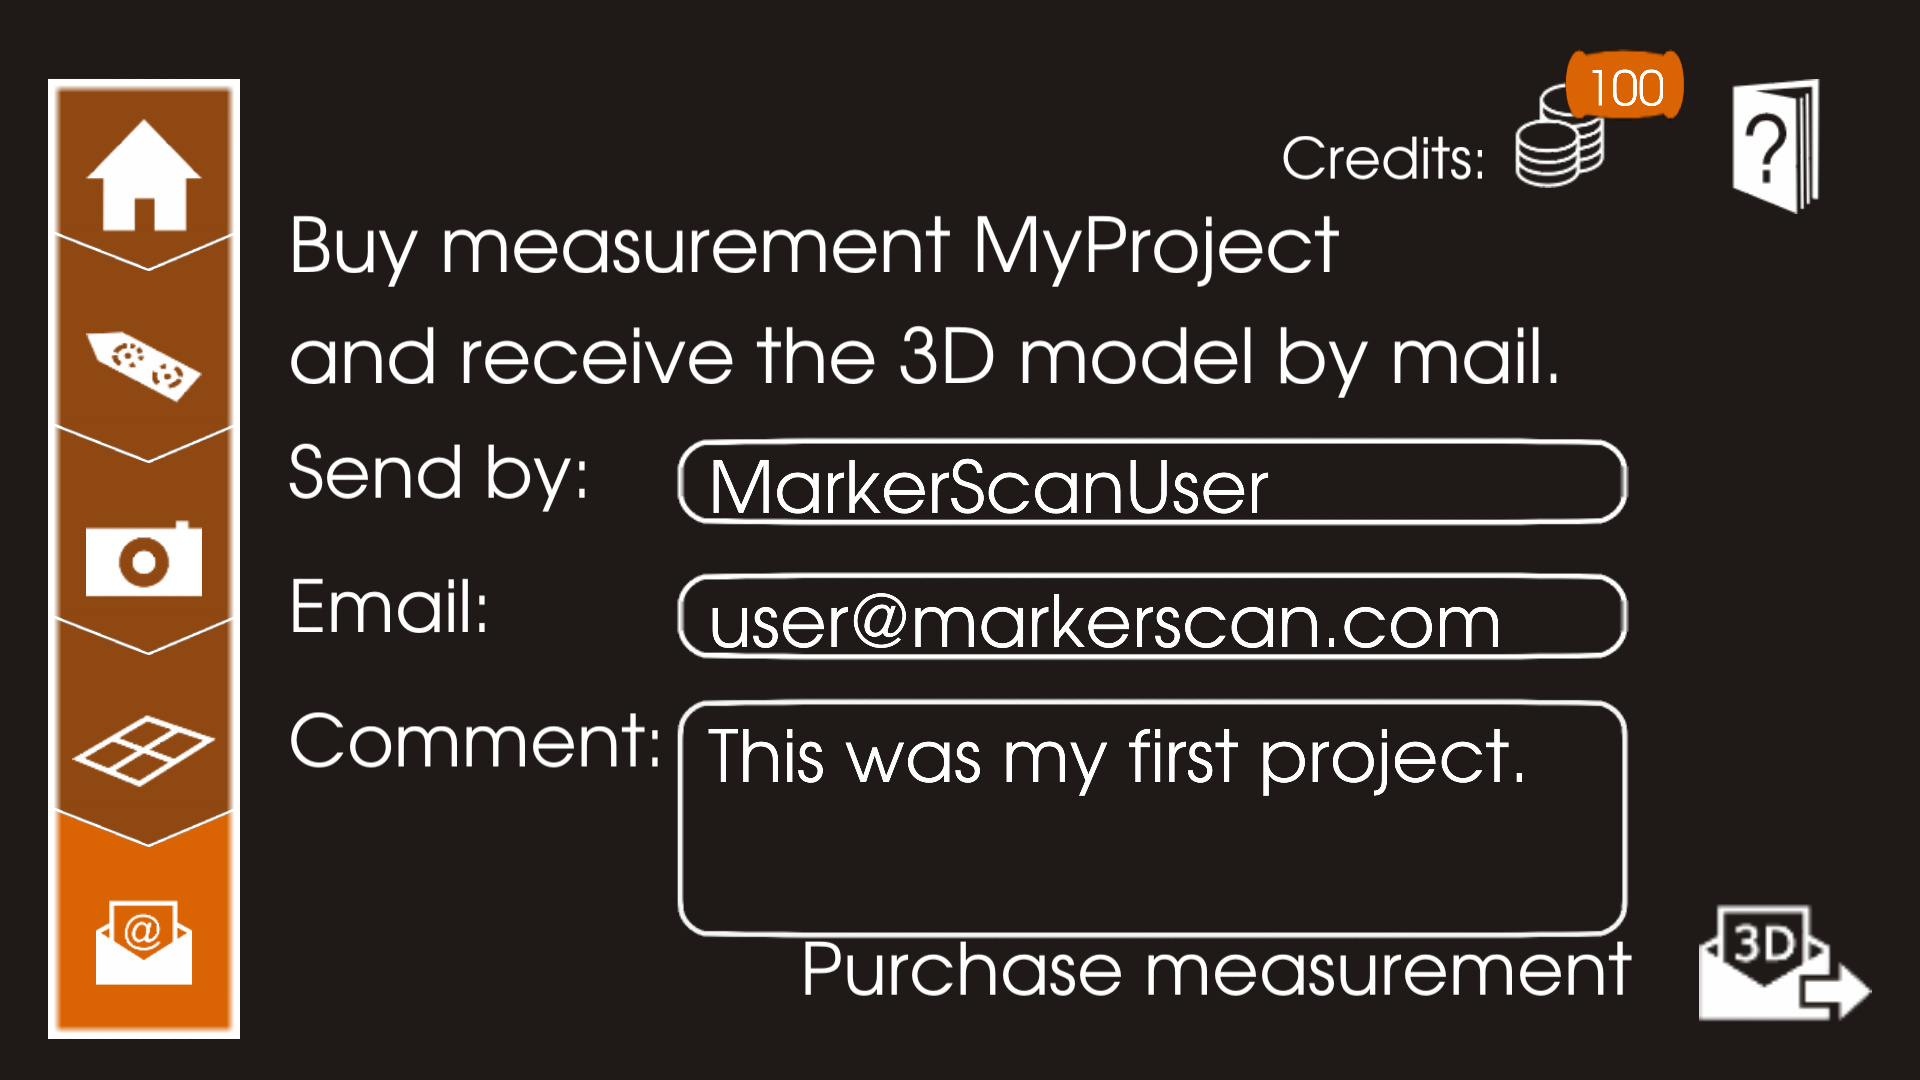
Step 6. Order your measurement
If your measurement is complete, we can send a DXF file of the 3D model, including the 3D points. This will cost you 1 credit.
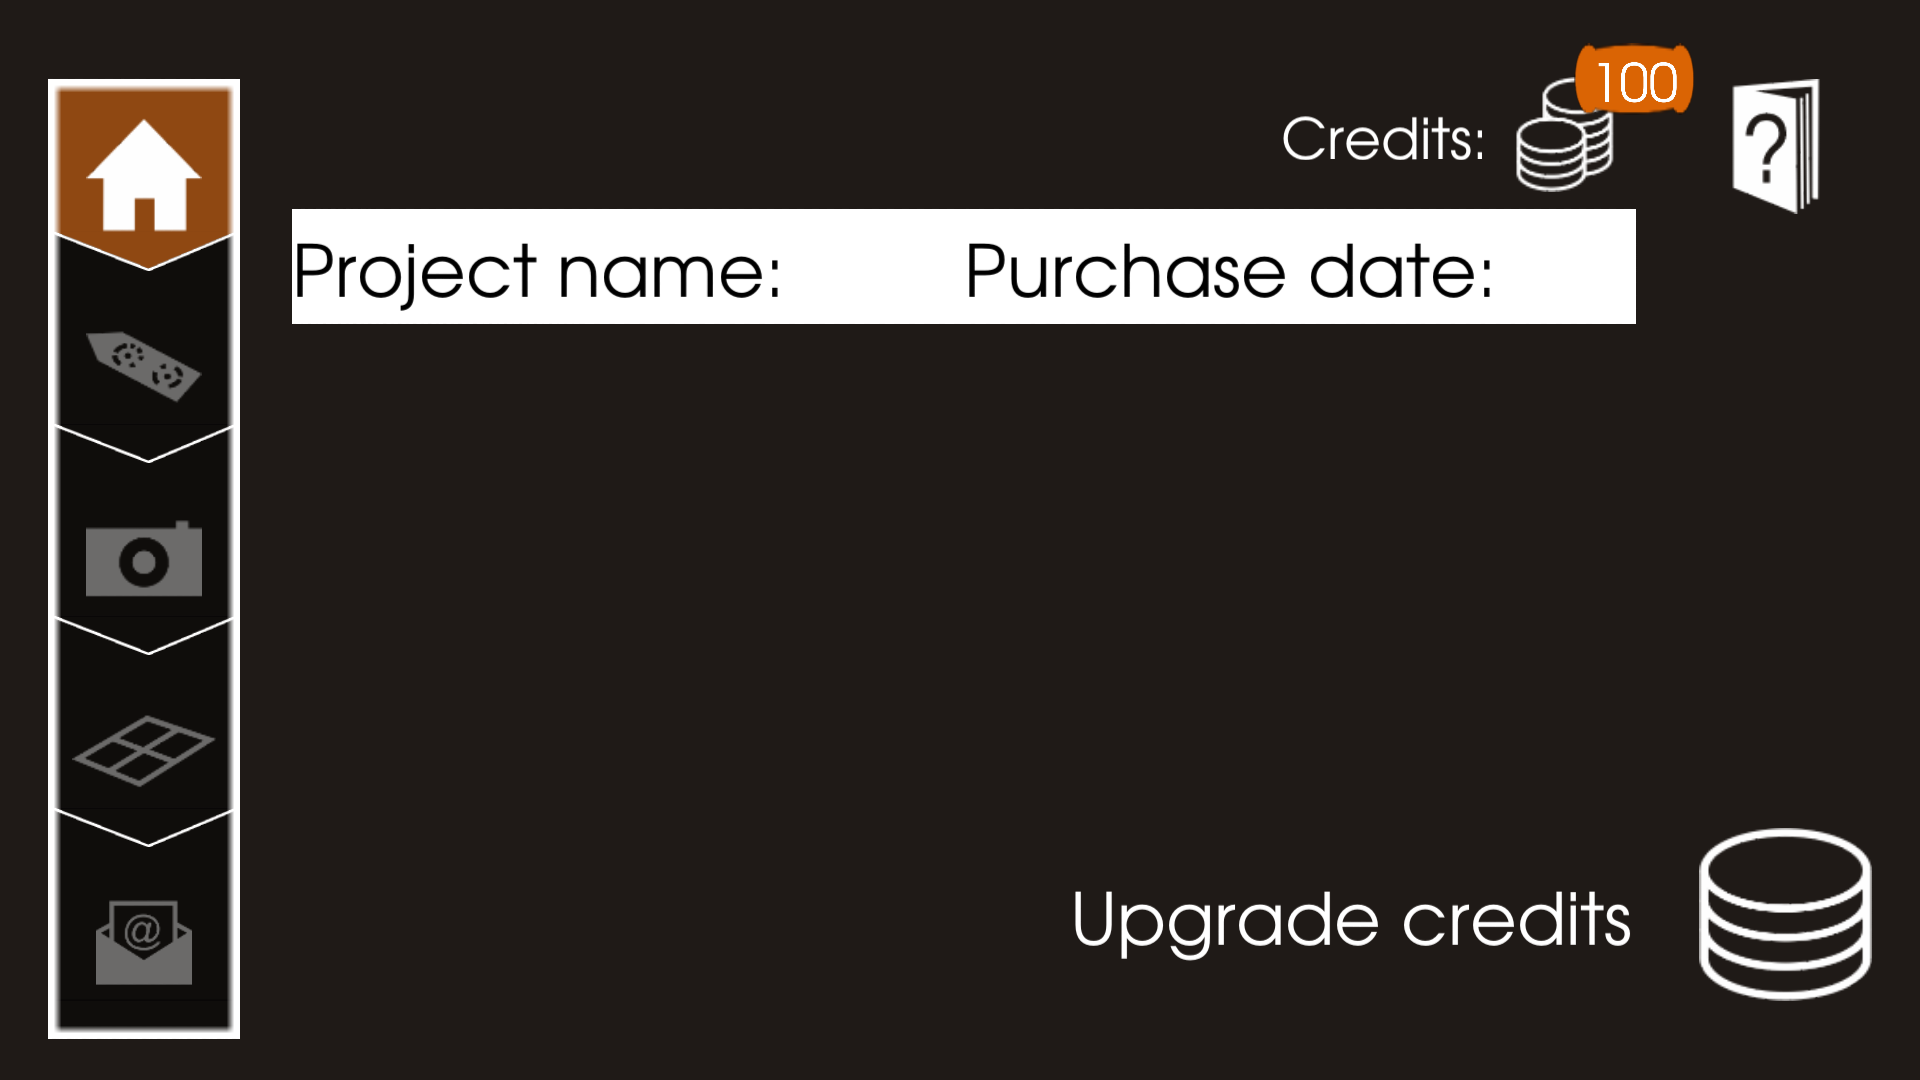
Fill in your name and email address. The measurement will be sent to your email address. If you don't have credits left, you can upgrade credits from the Purchase History screen.
If you have a question or remark about MarkerScan, you can always contact us via our Support Page. Please see the FAQ Page for frequently asked questions.